Set up your Sonos Sub Mini
This article will guide you through setting up your Sonos Sub Mini. You can find more information on product features and specs on Sub Mini's product page.
Before you start
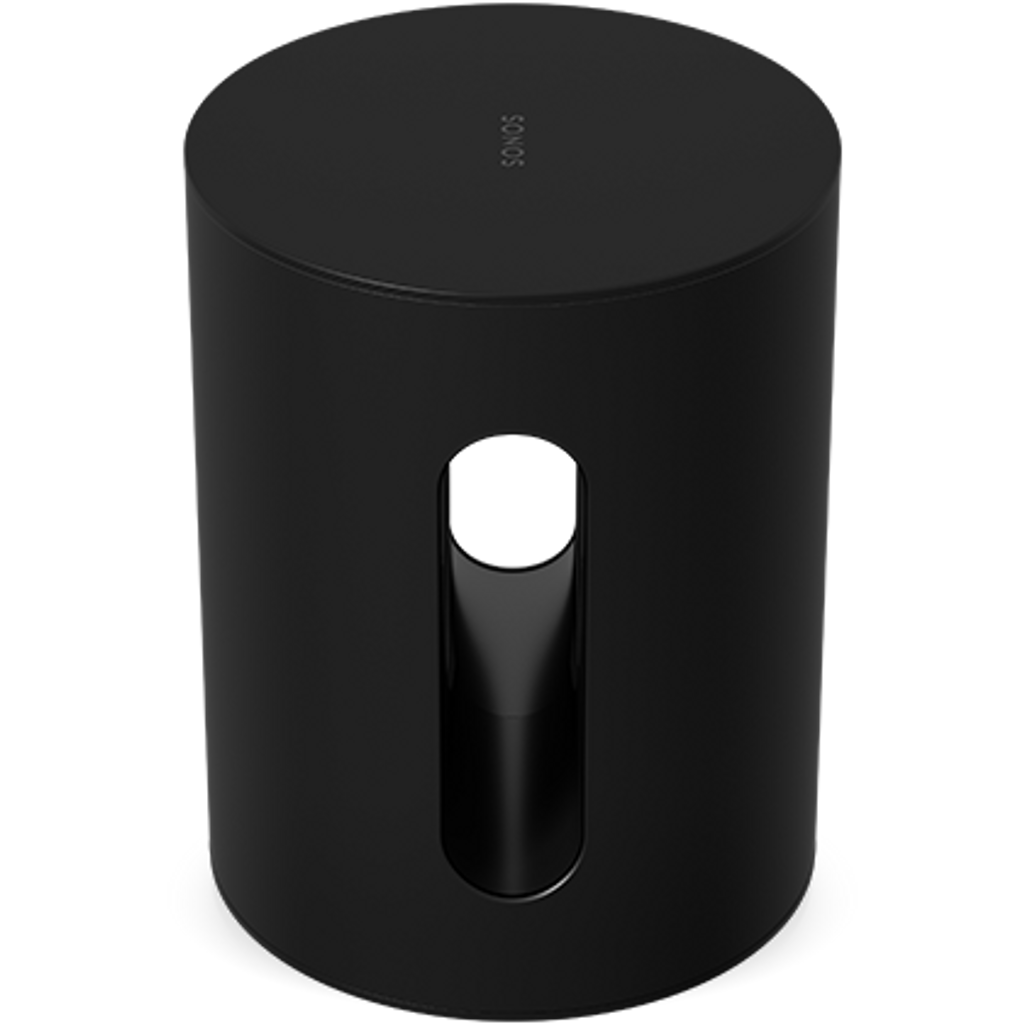
- Place your Sub Mini in your desired location and connect it to power. Make sure at least one side of the slot is free from obstruction. If you place it vertically against a wall, don’t block the front opening.
- Sub Mini cannot be added to unamplified or portable Sonos products. See all Sonos products that support Sub Mini.
- Sub Mini will connect wirelessly to your primary Sonos product. Make sure they are in the same room as each other.
- If you are setting up a Sonos home theater speaker and Sub Mini at the same time, set up the home theater speaker first. The app will guide you through adding your Sub Mini during the setup process.
- If you're adding a Sub Mini to a Sonos speaker that is already set up, follow the steps below.
Add a Sub Mini
- Open the Sonos app for iOS or Android.
- Go to the Settings menu.
- Under Your System, select the room you would like to add your Sub Mini to.
- Select Connect Sub.
- Follow the prompts to add the Sub Mini to your Sonos system.


If you have already set up your Sub Mini but would like to use it in a different room, see our article on removing your Sub.
Problems during setup?
If your Sonos Sub Mini is having trouble connecting during setup, check our “Product not found” article for some help.


